
How to Install OPNSense Firewall?
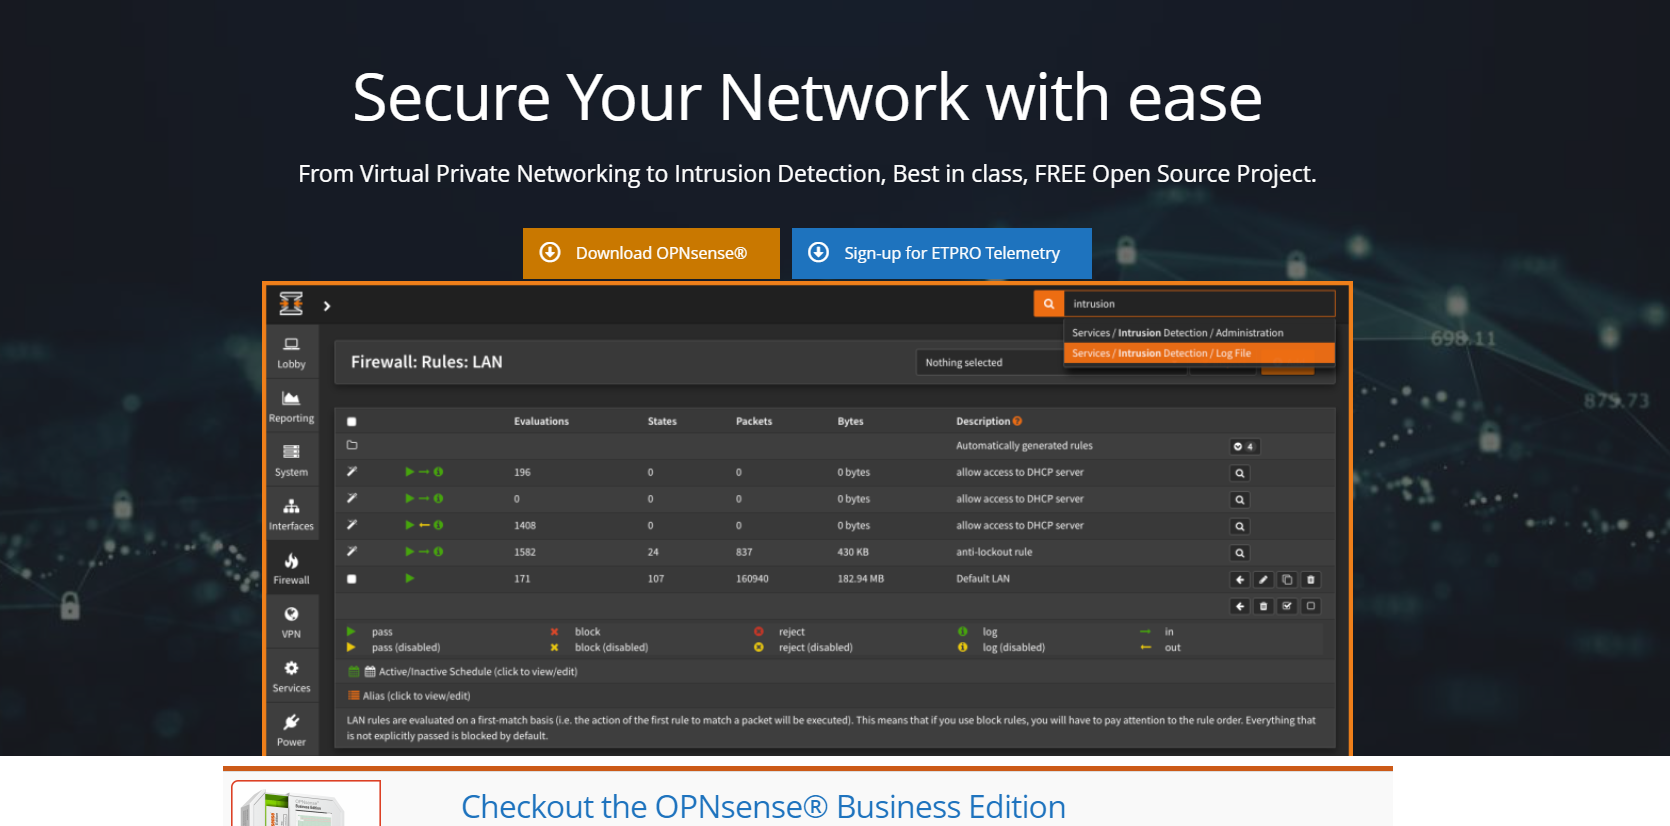
OPNsense was released as a simple fork of PfSense, but it has evolved into a completely independent firewall solution.
OPNsense is an open-source, easy-to-build, and easy-to-use FreeBSD-based routing platform and firewall. It includes most of the features available in commercial firewalls with the benefits of verifiable and open sources.
Do you want to learn how to download and install the OPNsense firewall? This tutorial will show you all the steps required to install an OPNsense firewall using the original ISO file.
Hardware Requirements
OPNsense has a minimum requirement set and can easily be set up to run as an OPNsense firewall. Here are the minimum specifications to run OPNsense.
| Processor | 1 GHz dual core cpu |
| RAM | 2 GB |
| Install Method | Serial console or video (vga) |
| Install Target | SD or CF card with a minimum of 4 GB, use nano images for installation. |
Download OPNsense
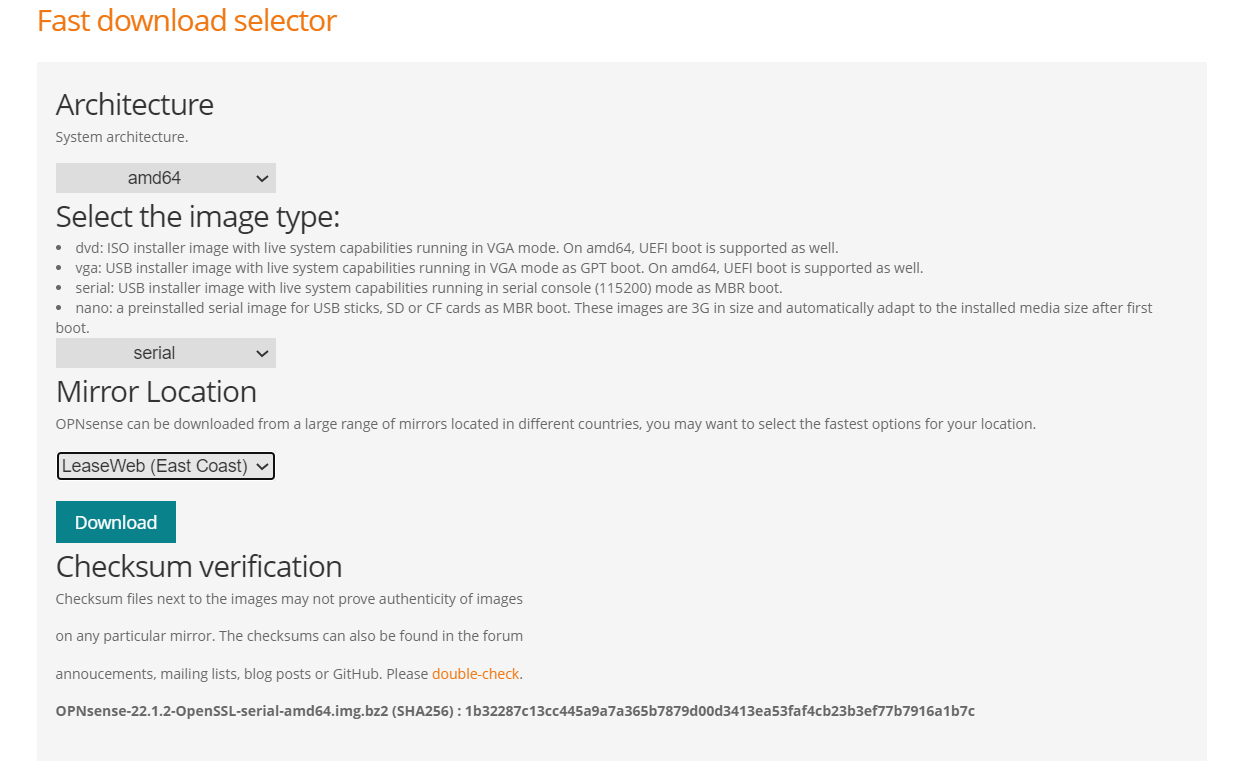
The first step is to get the OPNsense software, and there are multiple options available based on device and installation. The OPNsense download is available here.
Select the OPNsense software architecture. the serial image type, the desired mirror location and click the ‘Download’ button.
Install OPNsense Firewall
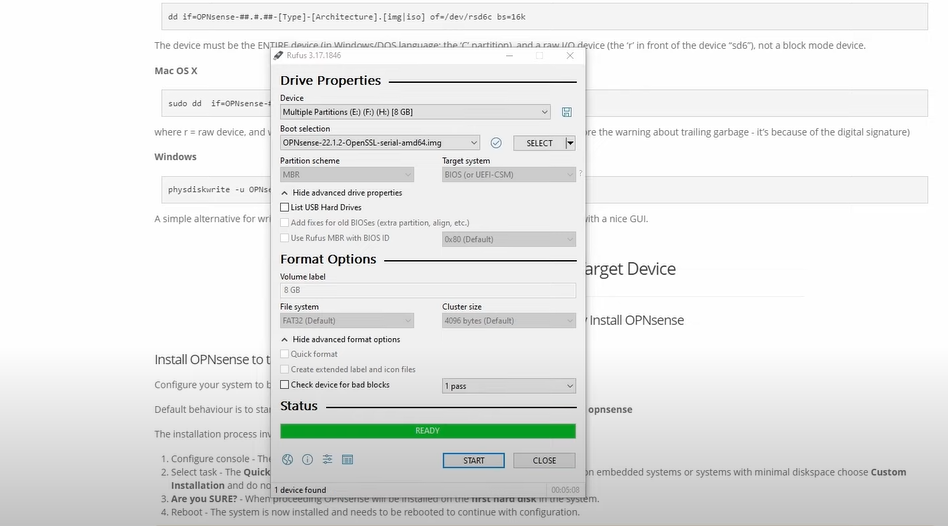
Extract the downloaded file to get the ‘img class="img-fluid mb-50"’ file. Use the Rufus tool to create bootable USB sticks with a friendly GUI.
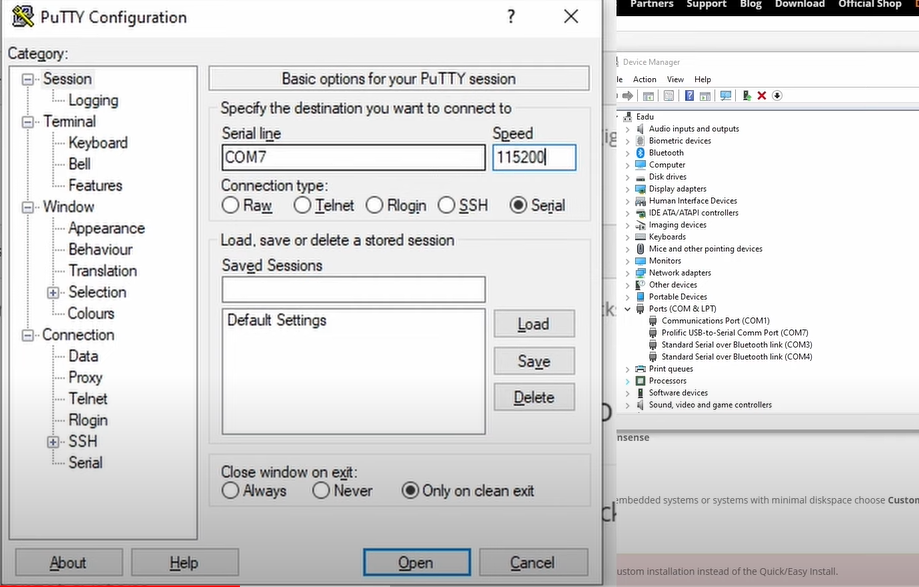
Open PuTTY and make configurations as follows.
Perform system boot using the OPNsense installation.
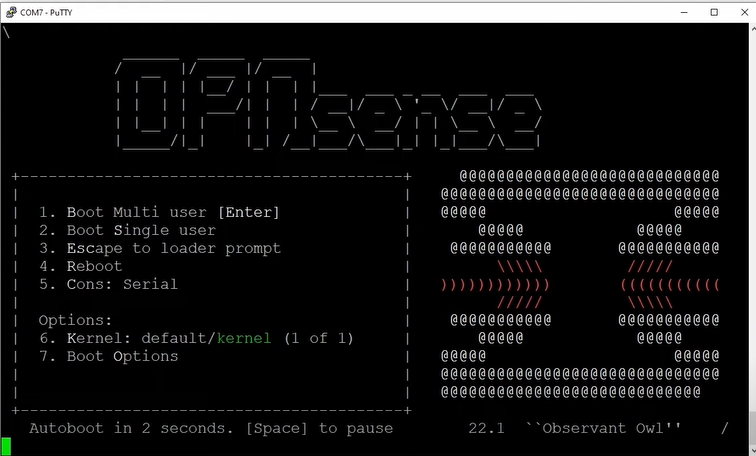
When the system is booting, don’t press any key and wait for the login prompt.
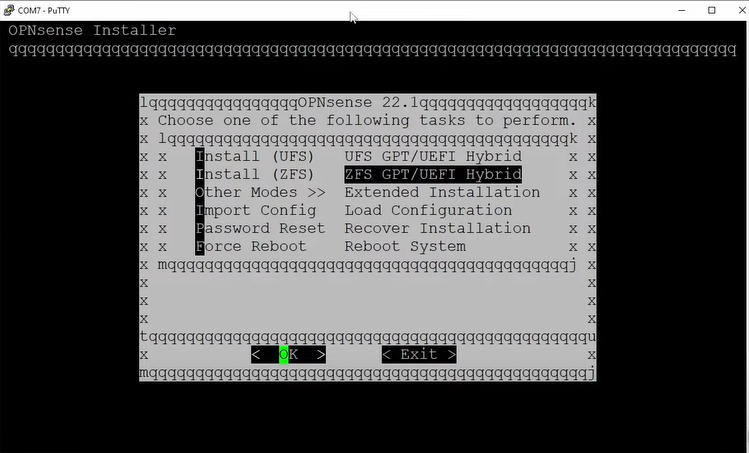
Login as ‘installer’ and use the default password ‘opnsense’. It will start the installation process.

You can use UFS or ZFS for the partition. We have selected ZFS and continue.
Here it’s done with complete cloning of the system. Set up your OPNsense system and either change the root password or exit and reboot.

Start rebooting and it may take some time to complete.

Login as root and the Options menu will be shown on the screen.
You will be asked to make a VLAN configuration, or you may also configure the VLAN setting on the OPNsense GUI later.
You are required to enter the WAN and LAN interface name. Enter the WAN and LAN interface name and press enter. For example, in our OPNsense system, re1 is the name for the WAN interface and re2 for LAN.
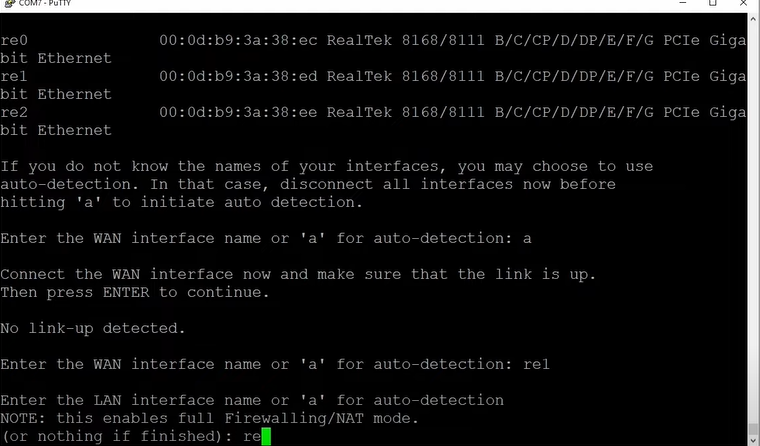
Since we don’t have any other network interfaces, press enter to continue. All network interfaces on the OPNsense firewall as assigned to respective networks.
IP Address Settings For The OPNsense Firewall
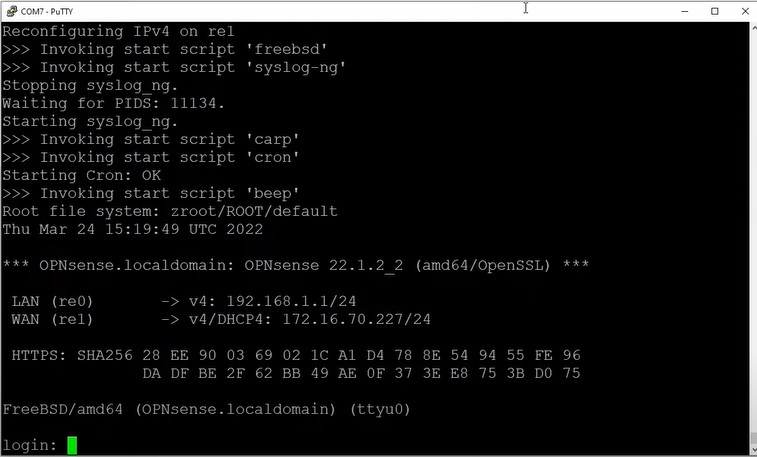
You should configure the IP address for the network interfaces after assigning them to the corresponding networks (LAN and WAN) of your OPNsense firewall.
After configuring the IP address, you will see a successful installation of the OPNsense firewall. The web GUI of the OPNsense firewall can be accessible on your browser.
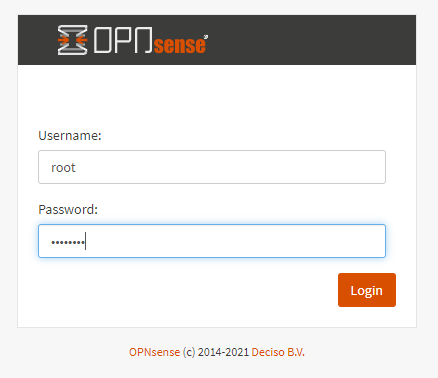
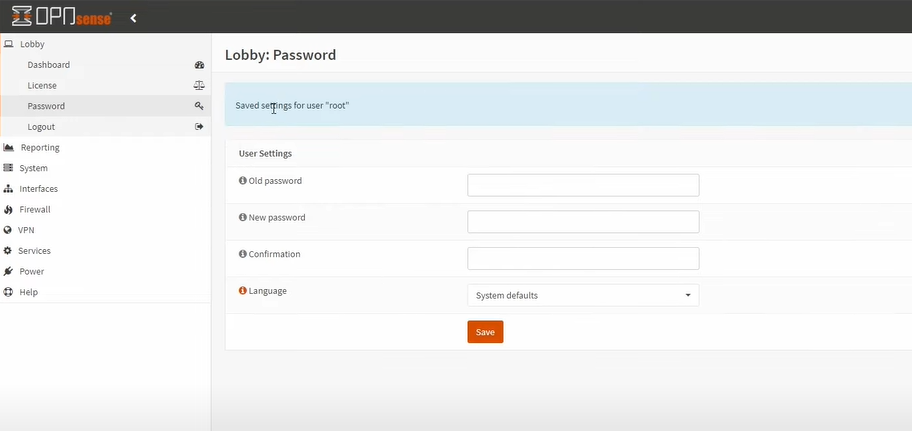
Here is the OPNsense dashboard after you login to the OPNsense GUI.

You can change the default username and password here.
Here the installation process is completed. We hope this tutorial is helpful for you regarding installation of OPNsense firewall. You can get more information by visiting the documentation section on OPNsense’s official website.
SUPPORT MY WORK
Hire US Buy Me a Coffee TECH I USE AND RECOMMEND Tech Kits [Domain Registrar](https://hover.evyy.net/YGg4j
- Kevin Stevenson
- Friday, Apr 1, 2022