Introduction
In this article we will go over how to Backup Office 365 or SharePoint to TrueNAS. This can be useful to make sure there is a synced copy or offline storage in the case that Microsoft, OneDrive, or SharePoint is down.
TrueNAS
The first thing we will do is open up our TrueNAS. You will then select System and choose Cloud Credentials. What we’re going to do is take our Office 365 account and connect it, and then pull the SharePoint drive down to our NAS to have a local copy of it.
Adding Cloud Credentials
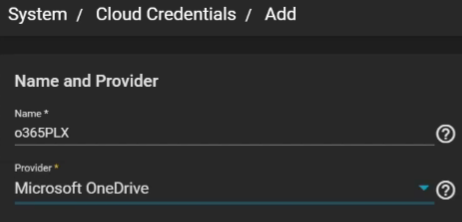
Once in the Cloud Credentials, we are first going to click add. We will then be brought to a screen with some dropdowns and input boxes. For the name, it can be whatever you would like. On the provider, we are going to choose “Microsoft OneDrive”.
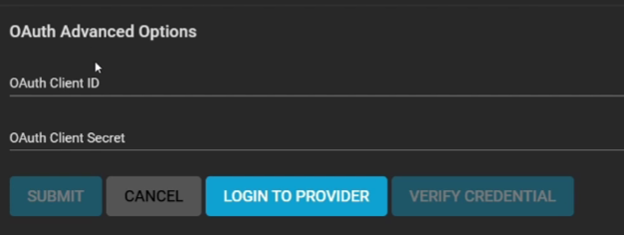
We will then go down to the big blue button that says, “Login to Provider” and a popup will appear asking to confirm you’re on the correct NAS device. You will then select proceed and sign in to whatever O365 account you would like synced. That should then fill out the OAuth Advanced Options automatically.
Now we are going to the Authentication portion of dropdowns. You will choose the document library that you would like and select Business, Personal, or Document Library depending on how you’re using this. You will then go to the button at the bottom that says, “Verify Credentials”. If it succeeds, you will then click “Submit”.
TrueNAS Tasks
After selecting submit, you will use the navigation menu on the left and look for “Tasks”. We will then select “Cloud Sync Tasks” within this. What this will be doing is taking from Office365 and getting it to the TrueNAS. We will then Add a new task. The description will be the name you would like this task. The Direction will be either Push or Pull. We will use pull for this demonstration.
Direction
Push will send your data to the cloud.
Pull will receive the data from the cloud.
Transfer Mode
Sync: Files on the Destination of changed to match the source of your files. If you delete an item within the source, it will also be deleted in the cloud.
Copy: Files from the source are copied to the destination. If files have the same name, they are overwritten.
Move: After files are copied from the source to the destination, they are deleted from the source. Files with the same names on the destination are overwritten.
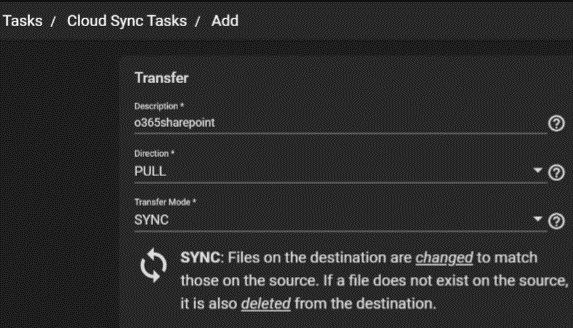
For our task, we will choose Sync. Our next item is to select where we would like to save this data. Our Credentials will be the one that we set up in the previous steps. We will then choose a folder within the SharePoint. Below is a schedule, you can set it to whatever you prefer but we are going to use Daily. You will then select the button that says, “Dry Run”. A popup will appear stating that it is starting the job. You can close out of that and select the Submit button.
Testing
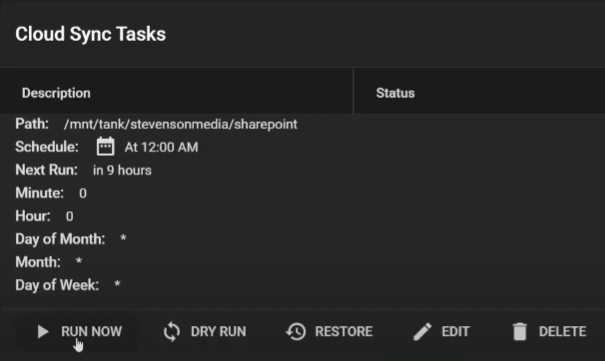
To test this, you can input a file into the OneDrive folder you specified and then go back to TrueNAS and select “Run Now” on your new task you just created. It will then start the syncing process and the file should now appear in the directory that you chose to save the item to. If your file appears in the directory, you are now all set up and ready with your backups!
Full Video
SUPPORT MY WORK
TECH I USE AND RECOMMEND
Tech Kits
Domain Registrar
Digital Ocean CloudServer
- Kevin Stevenson
- Wednesday, Oct 6, 2021
